¿Cómo conectar un estéreo de automóvil desde cero?
¿Alguna vez has viajado en un coche excelente pero con música de baja calidad? Desafortunadamente, esto ha sido un problema en la mayoría de los autos.
En general, muchos automóviles vienen con unidades principales instaladas de fábrica que no están a la altura. Esto se debe a que la mayoría de los fabricantes de automóviles no se esfuerzan al máximo en la calidad del equipo de audio y sonido de un automóvil.
La decisión más común y mejor es reemplazar la unidad principal del automóvil con una radio del mercado de accesorios, pero ¿cómo conectar un estéreo de automóvil desde cero? Vamos a averiguarlo.
El primer paso para cablear la radio de un automóvil es quitar el arnés de cableado y desconectar los cables que conectan los altavoces y la alimentación. Lo siguiente es conectar los cables al nuevo arnés o al adaptador del arnés y conectarlo a la nueva radio. Cuando esté conectado, pruebe la radio del coche y, si funciona correctamente, colóquelo en el salpicadero.
Todo el proceso de reemplazo implica la instalación y el cableado de la radio del automóvil. En este artículo, le mostraré una guía paso a paso sobre cómo conectar la radio de un automóvil.
Cómo cablear la radio del automóvil desde cero. Una guía completa.
Al igual que otros procesos, seguir las instrucciones adecuadas de cableado del estéreo garantiza que tenga audio de alta calidad en su automóvil.
Tómese el tiempo para leer cada paso cuidadosamente y actuar en consecuencia. Asegúrese de no trabajar con prisa y preste mucha atención al trabajo.
¿Qué herramientas se necesitan para conectar el estéreo de un automóvil?
Antes de hacerle nada a la radio del automóvil, hay algunas herramientas básicas pero necesarias que debe tener preparadas.

Probablemente tenga todo en su garaje, pero si no, agregué los enlaces de Amazon a las herramientas que uso y estoy contento con la calidad:
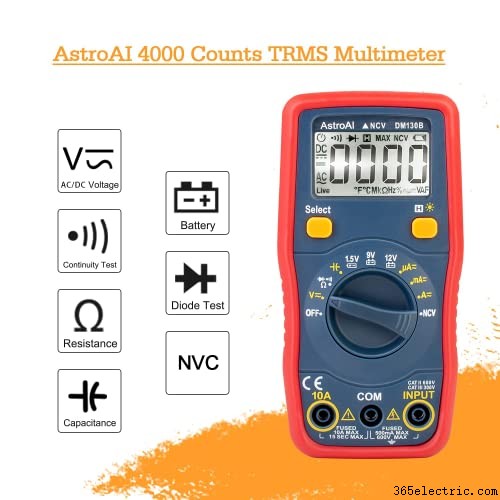
- Multímetro digital.
- Pelacables.
- Engarzadoras.
- Batería de 9 voltios o probador de altavoces.
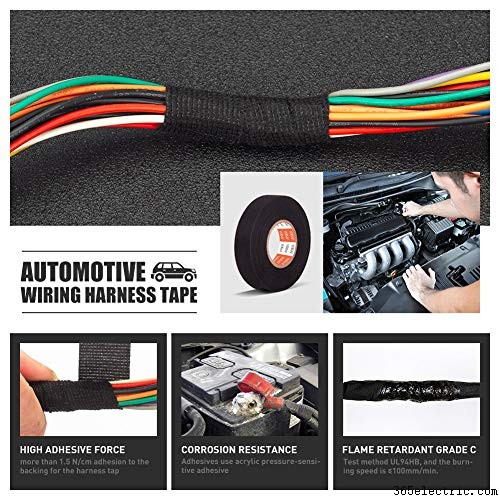
- Cinta aislante.
Paso 1:Retire la radio y desconecte el arnés de cableado
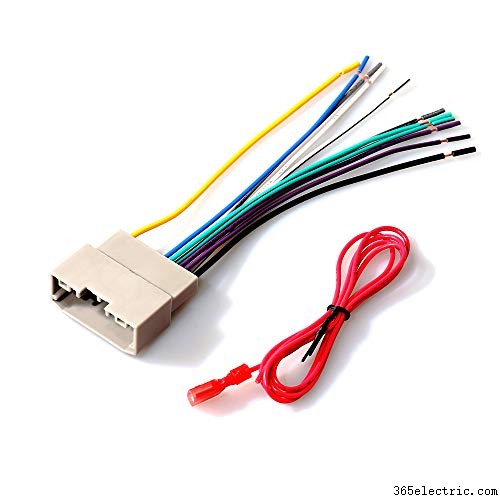
Primero, retire el viejo estéreo del tablero y desconecte el arnés de cableado. En este punto, dependiendo de la nueva radio, es posible que necesite un adaptador de cableado para ayudarlo a conectar la nueva radio de su automóvil al clip existente del automóvil.

Un adaptador de cableado ayuda a conectar estéreos de automóviles únicos con la conexión DIN estándar del automóvil y evita conexiones incorrectas.
Paso 2:Desconecte la batería
Al realizar el proceso de cableado, deberá trabajar en el sistema eléctrico.
Por lo tanto, existen posibilidades de descarga eléctrica, y es por eso que se recomienda desconectar la batería antes de comenzar el proceso de conexión de cables.
En la mayoría de los autos, encontrará la batería debajo del capó, con algunos casos raros cuando se instala en la parte trasera del vehículo.
Después de ubicar la batería, use una llave de mano o de tubo para aflojar el cable negro del terminal negativo de su batería.
Considere perder el perno y jale el cable hacia el lado de la batería para asegurarse de que no toque los cables positivos. Si no desconecta la batería, puede dañarlo a usted o al equipo eléctrico del automóvil.
Paso 3:envuelva todos los cables conectados
La importancia de hacer esto es asegurar sus puntos de conexión.
Después de revisar todos los cables y conectarlos con el automóvil, es esencial hacer las conexiones permanentes.
Asegúrese de que no haya cables desnudos en la radio del automóvil y, para deformar las conexiones de los cables, puede usar cinta aislante. .
Puede usar otras formas de envolver cables, pero usar cinta es el método más fácil, económico y común que usa mucha gente.

Paso 3:prueba la radio de tu coche
Después de hacer las conexiones y asegurarlas, debe volver a conectar la batería para poder probar el estéreo antes de colocarlo definitivamente en el tablero.
It is advisable to install the car radio after checking it is working perfectly. First, however, you need to check its all functions, including speakers connections.
Finding something that is working incorrectly means the wires are not connected right, and often mistake is wrong connection of the speaker wires.
Step 4:Place the Wires Harness Into the Dashboard
After ensuring that all of your connections are tight and secure, it’s now time to install wiring inside the dash.
This includes connecting an often-forgotten antenna wire from car radio signal reception equipment so you can enjoy clear communications while driving!
You have to remember that there should be enough space for your radio in the dashboard, so make sure all wires are pushed into the dashboard.
This way, the stereo won’t get stuck when trying to move or remove from its position later on without damaging anything!
Step 5:Place the Car Radio Into Its Place
In most cars, there is an opening inside the dash where the car radio should be placed.
While installing the car radio, make sure it perfectly fits into the slot, and there are no extra wires that would block free movement.
If you feel some resistance while pushing the radio, never force it with too much pressure to its position. Otherwise, you can damage the wiring connectors at the backside.
In this case, an adaptor is very helpful at sliding the car radio properly in its correct position. An adaptor is available at any electronic store or auto parts store.
Step 6:Secure the Car Radio in Its Position
You can secure a car radio into two main methods.
- One of them is for the car radios that need spring clips. Once the stereo is locked at the correct position, the clips close and you can hear a click sound.
- The other one that is less common, involves brackets and bolts that need proper fixation. Bolting the radio permanently helps to secure it in the place.
Step 7:Install Dashboard
This is the final step of the wiring process and involves assembling every piece of the trim and the plastic clips.
At the same time, be careful to avoid the damage of any plastic parts and take time to check if the overlapped pieces have been correctly layered.
If you come across some plastic parts that have been broken, you can use hot glue to secure them.
However, using glue is not highly recommended since the plastic parts you fix can become difficult to remove in the future.
If the entire rim piece has been broken completely, the only option you have is to buy a replacement.
How to Test Car Radio Wire for Their Right Connections
All wires have to be in good condition and connected to the radio without interruptions.
Below I listed a few simple checks you can do to make sure the stereo’s connection is correct:
Constant wire
This wire comes with 12 volts, and it supplies power directly from the battery.
To test if it is working, the first thing you should do is put off your ignition. Afterward, ground the black wire, pick up the red meter probe and connector, and touch it with the constant yellow wire.
The constant wire should give the reading up to 12 volts with a 0.5V difference.
Speaker wire
The simplest way to test the speaker wires is to use a 9-volt battery. You can also use a multimeter to test the speakers but make sure you set it to resistance before testing.
Accessory Power
Turning off the ignition makes the wire show a zero volt reading at a meter. Upon turning it on, it reads 12 volts and 0.5 volts.
Ground wire
Identifying the ground wire is straightforward after identifying the constant wire. Then, after proper testing, the ground wire is connected to the black wire.
Note that it is necessary to begin attaching a red meter probe with constant wire and later a black meter probe with the wire you are testing.
If the reading on the meter is similar to the constant wire testing, that is the ground wire.
Frequently Asked Questions (FAQs)
Where Is the Ignition Wire Located?
Depending on the car, the ignition switch harness is located inside the steering wheel column on either the left or right side.
The ACC wire is the one often 18 gauge yellow or pink. Installing this wire at a local electrical specialist can help you ensure the installation.
What Happens if You Do Not Ground a Car Stereo?
It is impossible to operate a car stereo without a proper ground wire installed.
The correct ground connection allows your radio to work perfectly without malfunctioning issues when the car is on.
How Can I Tap the Wires When Wiring a Car Stereo Without the Harness Clip?
The best solution is to look at your car’s electrical manual. However, if the manual is unavailable, you have to trace every wire.
Using a multimeter will be a good idea in this task. Since car electrical systems can be tricky to manage, do not attempt to play with the car’s electrical system without basic knowledge.
Conclusión
You have no reason to stay in an excellent car with a poor music system with the above guides.
Remember, adding a new car radio in your car is a great way to breathe new life into your vehicle. However, for the stereo to work at its own best, you have to follow the installation and wiring process.
